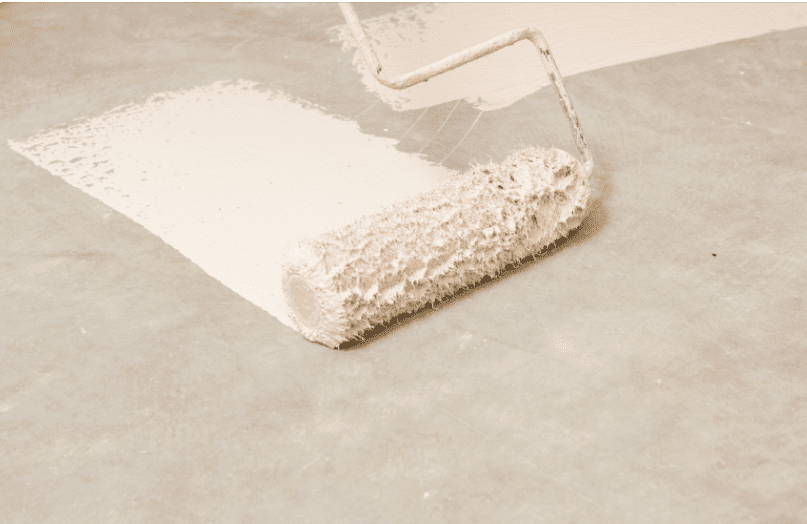
Basement Floor Paint Pitfalls
Can We really successfully paint a basement floor by ourselves? It is possible, but covering a basement floor includes several difficulties:
Moisture Infiltration
If water is oozing up through the concrete from the ground underneath, it is essentially hopeless to get any layer to hold; the hydrostatic pressure will quickly raise the paint off.
Before painting, check for seepage by wrapping foot-square chunks of aluminum foil at a couple of spots on the floor (it is preferable to do this during a moist period).
Have the foil in place for several weeks, then take out and study it. If humidity has gathered on the underside of the foil, the floor is bleeding.
Intercepting seepage can be surprisingly challenging. The cause is occasionally a fault rain-gutter system or rough grading around the house (the soil should slope aside from the foundation).
Improper Paint
Covering a concrete floor demands particular basement floor paint. Many so-called porch-and-floor paints will work if other conditions are suitable, but it is best to look for specific concrete-floor paints.
Epoxy paints are the hardest, but even these can fail if diverse conditions are not ideal.
Improper Preparation
Regularly read and meticulously adhere to the directions on the paint can. A complete cleaning is a minimal arrangement, but some concrete floors also demand acid etching to overcome extreme smoothness.
Directions For Painting
Make Sure the Painting Surface Is Smooth
Clog any cracks or pits in the concrete with a concrete repair compound or patch product.
These products are available pre-mixed or as dry powders that must be mixed with water; trowel on the repair compound and let it dry.
After applying the patching material, smooth the edges with a grinder or sandpaper. If there are any raised surfaces, they should be sanded down as well.
Cracks and damaged areas will be visible once painted, and they can become tripping hazards.
Sweep or Vacuum The Floor
Sweep or vacuum the floor’s surface thoroughly. Check for any loose dirt or debris that could become trapped in the drying paint.
Mop the floor with detergent and water after vacuuming, then rinse with clear water to remove fine dust.
Dry any visible wet spots with a towel, then leave the floor to dry for 24 hours with a dehumidifier or fan on. Before painting, the floor must be completely dry.
Prepare the Floor
While some epoxy products or floor paint are all-in-one solutions, others require priming the floor before application.
Use paintbrushes and a roller to apply primer to the concrete. Start at the farthest wall from the door and work your way back towards the exit to avoid painting yourself into a corner.
As you go, use long strokes to apply the primer as evenly as possible over the entire area. If bubbles or puddles form, smooth out the application with a primarily dry roller.
Wait for 24 hours for the primer to dry before proceeding with the painting.
Use Painter’s Tape
Apply painter’s tape along the walls where they meet the floor before painting. This prevents the color from spreading to unwanted surfaces and speeds up the painting process.
Because two-part epoxy paints have a short window before hardening, the sooner you apply the paint, the better.
Combine the Paints Thoroughly
To mix the paint, follow the manufacturer’s instructions. Mix a small amount of two-part epoxies so the paint does not harden before finishing the application.
To mix the pigments in one-part floor paints, thoroughly stir or shake them.
Floor Painting Time
Using a paintbrush, “cut in” the floor’s edges that are adjacent to the walls. Begin rolling the “field”—the expanse of the floor inside the edges—immediately after this.
Begin priming in the areas furthest from the exit, just as you did with priming. Assemble the coat so that it is as flat and seamless as possible.
Put on a Second Coat of Paint
Allow the first coat to dry completely, as directed on the label, before applying a second coat of paint.
If You do not have time to go out and shop for the paint, You can always check Amazon Online and arrange paint delivered to your home.


