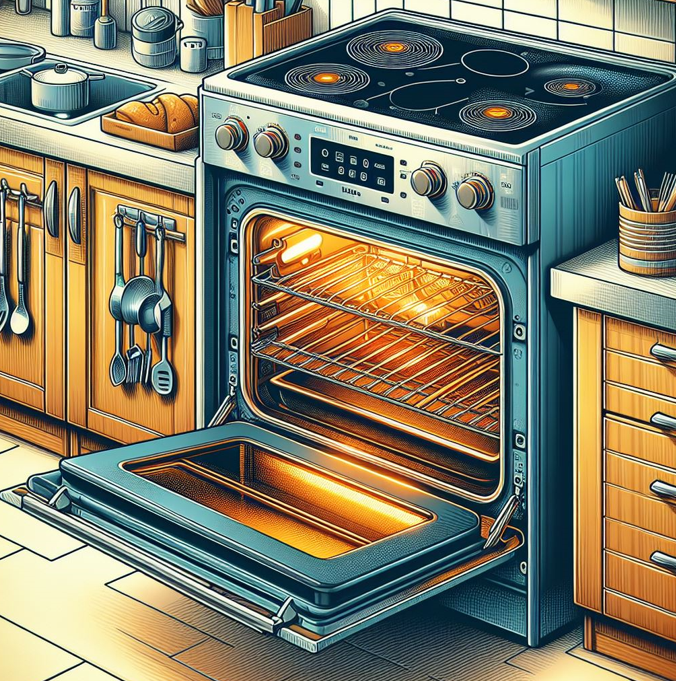
In modern conveniences, self-cleaning ovens are a shining example of technology enhancing our lives. These remarkable appliances offer a hassle-free way to maintain a spotless oven interior, saving you time, effort, and potential frustration.
By harnessing the power of high temperatures, self-cleaning ovens transform stubborn grease and grime into harmless ash, leaving behind a sparkling clean oven ready for your next culinary adventure.
How Self-Cleaning Ovens Work
Self-cleaning ovens employ a process known as pyrolysis to achieve a deep, thorough cleaning. During this cycle, the oven heats to an extremely high temperature, typically around 900 degrees Fahrenheit (482 degrees Celsius). This elevated heat incinerates any remaining food particles, leaving behind a fine layer of ash. Once the cycle completes, the ash can easily be wiped away with a damp cloth, leaving the oven pristine.
Benefits of Self-Cleaning Ovens
The advantages of self-cleaning ovens extend beyond convenience and ease of use. These appliances offer a host of benefits that enhance your overall kitchen experience:
- Reduced Cleaning Effort: Eliminate the tedious task of scrubbing and scouring your oven. Self-cleaning ovens take care of your dirty work, leaving you more time to enjoy your culinary pursuits.
- Healthier Kitchen: The high temperatures used in self-cleaning cycles effectively eliminate potentially harmful bacteria and spores, reducing the risk of foodborne illnesses.
- Extended Appliance Lifespan: Regular cleaning helps maintain the oven’s performance and longevity, ensuring you can enjoy its benefits for years to come.
- Improved Energy Efficiency: A clean oven promotes more efficient heat distribution, reducing energy consumption and contributing to lower utility bills.
- Enhanced Appearance: A sparkling clean oven adds a touch of elegance and sophistication to your kitchen, making it a true focal point of the space.
Safety Precautions
While self-cleaning ovens offer remarkable convenience, it’s crucial to exercise caution and follow safety guidelines to ensure a safe and enjoyable experience:
- Clear the Oven: Before initiating a self-cleaning cycle, remove all loose items, racks, and cookware from the oven interior.
- Ventilate the Kitchen: During the self-cleaning cycle, open windows or turn on exhaust fans to prevent smoke from accumulating in the kitchen.
- Avoid Opening the Door: Once the self-cleaning cycle starts, do not open the oven door until it has completely cooled down.
- Handle Ash with Care: Once the cycle is complete, allow the ash to cool completely before attempting to remove it. Use oven mitts to handle the ash, and dispose of it in a safe manner.
- Consult the Manual: Always refer to your oven’s user manual for specific instructions and safety precautions related to self-cleaning cycles.
Preparing for a Self-Clean Cycle
To ensure a successful self-cleaning cycle, it’s essential to prepare your oven properly:
- Remove Racks and Cookware: Detach all oven racks, baking trays, and cookware from the interior.
- Wipe Up Spills: Clean any spills or food particles from the oven floor and walls.
- Clean the Door Seal: Wipe down the door seal and glass to prevent ash from building up during the cycle.
- Lock the Door: Once everything is ready, securely lock the oven door to prevent accidental opening.
Running a Self-Clean Cycle
Initiating a self-cleaning cycle is a straightforward process:
- Select the Cycle: Choose the desired self-cleaning cycle based on your oven’s specifications. Some ovens offer different modes, such as full, quick, or heavy clean.
- Set the Timer: Adjust the timer according to the selected cycle and your oven’s recommendations. Typically, cycles range from 30 minutes to 3 hours.
- Initiate the Cycle: Press the start button to initiate the self-cleaning cycle once the settings are configured.
Cleaning After a Self-Clean Cycle
After the self-cleaning cycle has completed, follow these steps to ensure your oven is spotless:
- Wait for Cooling: Allow the oven to cool completely before proceeding. This may take several hours.
- Remove Ash: Use oven mitts and a damp cloth to remove the ash from the oven interior.
- Wipe Down the Interior: Once the ash is gone, wipe down all surfaces with a damp cloth.
Additional Tips for Self-Cleaning Ovens
- Prevent Grease Buildup: Regularly wipe down spills and splatters to prevent grease buildup, making self-cleaning cycles more challenging.
- Avoid Overfilling: Overloading the oven can hinder the self-cleaning process and increase the risk of smoke.
- Use High-Temperature Cookware: Opt for cookware that can withstand high temperatures to prevent warping or damage during the self-cleaning cycle.
- Address Issues Promptly: If you notice any unusual smells or smoke during the self-cleaning cycle, stop the cycle immediately and consult your oven’s user manual for troubleshooting advice.
- Consider a Steam Clean Cycle: Some self-cleaning ovens offer a gentler steam clean cycle on the oven and may be suitable for lighter cleaning needs.
Conclusion
Self-cleaning ovens have revolutionized the way we maintain our ovens, offering a convenient and effective solution for tackling stubborn grime and grease. By following the simple guidelines outlined in this guide, you can ensure that your self-cleaning oven serves you well for years, enhancing your culinary adventures and keeping your kitchen looking its best.


