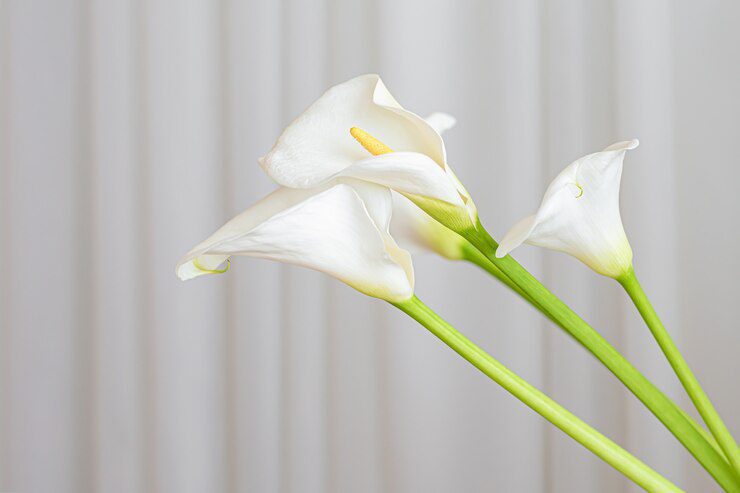
Being a plant parent is not just a hobby; you also need to invest time and affection for them to be able to bloom accordingly and beautifully.
Plants nowadays are not just for outdoor display, but for indoors to add greenery and live things inside our home. When we are at the lowest and busiest points in our lives, these plants allow us to be more productive and help us to think peacefully.
It is not just an ordinary display; It has a purposeful impact, not just on your family or visitors, but especially on you, who take care of them.
Research Says
The botanical name of Callas is Zantedeschia varieties, which are both hybrids. Its zone will be against Z. Aethiopica can be cultivated in zones of eight to ten, whereas hybrids love Zone 9 and warmer climates.
Instead, in cooler locations, treat them as plants. In terms of their height and width, in an upright position, size: is twelve to thirty-six inches; width: is nine to twenty-four inches. Its exposure is full sun to some shade; the best lighting is bright, indirect light.
Bud count may suffer under dense shade, and intense summer light at noon might be equally challenging. The flower timeframe will be eight weeks after planting. Flower stalks begin to appear, and you’ll enjoy blossoms for the following two months.
The color and traits of Callas are herbaceous perennial or semi-evergreen plants. Calla lilies are produced from roots. Long, finger-like blooms with cylindrical shapes and pointy tips are produced.
Calla Care
In terms of calla lily care, several things need to be mindful of, especially if you have different varieties that you have collected.
● Temperature And Humidity
Calla is one of the tropical plants that would instead choose a temperature between sixty- and eighty degrees Fahrenheit. Calla also likes moist conditions, and you must be mindful of humidity, especially when the sun’s rays are too hot. The calla needs protection when that time comes. When the cold or winter comes, which we cannot control, try to avoid the bulb of the calla freezing because it will cause the calla to become inactive.
● Soil
Some varieties of calla would instead grow in well-drained, spongy-like soil. If you have sandy soil, just add fertilizer, and it will be good. If your calla is in the containers, don’t forget to use a high-quality potting mix.
● Watering
When you notice that the soil of your calla is slightly dry, then that’s the time that you need to water it. Do not overwater the calla because some varieties don’t like their soil to be squashy.
● Fertilizer And Modification
Apply a slow-release fertilizer at planting time. An excess of fertilizer will produce numerous leaves and tall stems, preventing the growth of flowers. Fertile soil does not need more nourishment.
● DeadHeading
Removing the faded flowers of calla, especially if you want to keep a tidy look and to be able to rebloom, will prevent seed production.
● Diseases And Pests
Fungus gnats, leaf spots caused by the fungus, gray fungus, blight, dasheen hybrid virus, spotted wilt, and armillaria rot is just a few of the diseases that can damage plants. Worms, Japanese beetles, aphids, spider mites, and thrips are some examples of pests.
● Winter Care
Before the threat of frost in the winter or early fall: Whenever the leaves on potted Callas start to turn yellow, cut them back to the ground and move the pots indoors to a cool, dry space so the root system may rest.
For Callas planted in the ground, remove the leaves after they turn yellow, dig up the taproot, and store them in a dry place at fifty-five degrees Fahrenheit. Eight weeks or more must pass without water before starting the cycle with extra water.
Planting Callas
● When Should You Plant:
Any time between February and June, you can plant your Callas, but keep an eye after the danger of frost has passed.
● What To Plant Where:
Choose a place with improved, well-drained sunny soil to partly shaded.
● How To Grow:
Insert the roots, which look like tubers, 3 to 4 inches deep in planters or the ground.


