Ever feel guilty about tossing those leftover carrot peels or that forgotten apple core? We all do! But what if you could turn your food scraps into a secret weapon for your garden? Enter Bokashi composting, a revolutionary technique that transforms kitchen waste into nutrient-rich goodness in a surprisingly short time.
Unlike traditional composting, which can take months and require a dedicated outdoor space, Bokashi composting thrives indoors thanks to a cool fermentation process. Think of it as pickling your food scraps for the good of your garden!
Why Bokashi? It’s Like Having a Kitchen-Sized Superhero!
Bokashi boasts some superpowers that make it perfect for beginners:
- Speed Demon: Traditional composting can take ages, but Bokashi gets the job done in just 2-4 weeks! No more waiting around for your black gold.
- Waste Warrior: Bokashi tackles a wider range of food scraps than traditional methods. Meat, dairy, and even cooked food are fair game, reducing your landfill footprint and keeping your kitchen bin smelling fresh.
- Odor Outcast: Bokashi’s fermentation process keeps things odor-free. No more holding your breath while you open the compost bin – this superhero keeps things pleasant indoors.
Ready to Unleash Bokashi’s Power? Here’s How

-
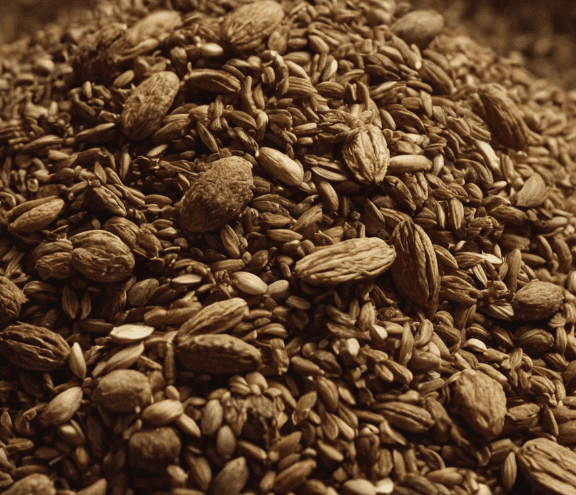
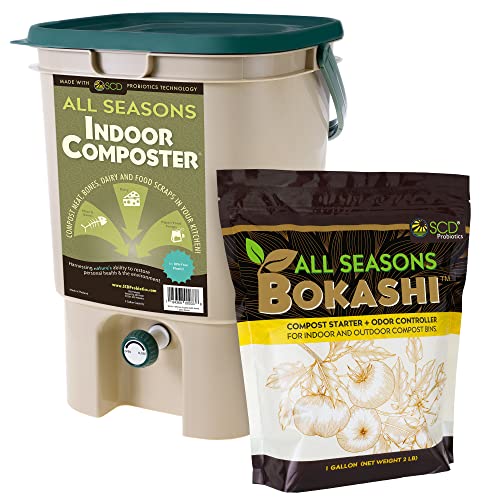
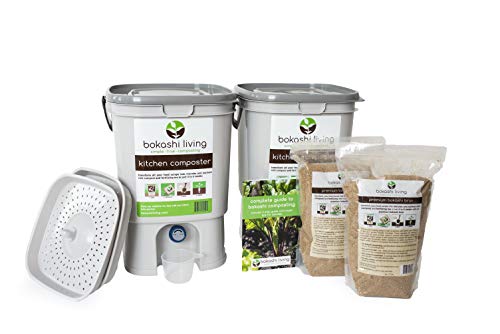
Gear Up: You’ll need a Bokashi bin and an airtight container with a spigot. Don’t worry; they’re readily available online or at gardening stores. You’ll also need Bokashi bran, a special blend of wheat bran teeming with beneficial microbes.
-
Layer Up: Add a sprinkle of Bokashi bran to the bottom of your bin. Then, toss in your chopped-up food scraps. Think coffee grounds, eggshells, leftover veggies – the Bokashi crew loves it all! Top it off with another layer of bran to keep things covered.
-
Press and Seal: After adding your scraps, give the mixture a good press to remove air pockets. This creates the perfect environment for the fermentation magic to happen. Then, seal the bin tightly – Bokashi thrives in an oxygen-free zone.
-
Drain Patrol: Every few days, open the spigot at the bottom of your bin to drain the “Bokashi tea,” a nutrient-rich liquid produced during fermentation. Dilute it with water and use it to give your plants a potent drink!
-
Fermentation Fiesta: Let your Bokashi bin work its magic for 2-4 weeks. The food scraps will transform into a pre-compost with a slightly sour aroma. Don’t worry, that’s a good sign!
-
The Final Act: You have two options once the fermentation is complete. You can bury the pre-compost in your garden, where it will continue to decompose and enrich the soil. Alternatively, add it to your traditional compost pile to give it a kick-start!
Bokashi Bonus Tips:
- Location, Location, Location: When burying your pre-compost, choose a shady spot in your garden to keep it moist.
- Balancing Act: While Bokashi isn’t as picky as traditional composting about the carbon-to-nitrogen ratio, try to add a mix of green (nitrogen-rich) and brown (carbon-rich) scraps for optimal results.
- Moisture Matters: Keep the pre-compost moist after burying it. This helps it decompose faster and keeps the good microbes happy.
- Tea Time for Plants: Remember to dilute your Bokashi tea before giving it to your plants. It’s a potent fertilizer, and a little goes a long way!
Bokashi composting is a fantastic way for beginners to turn food scraps into garden gold. It’s fast, effective, and keeps your kitchen smelling fresh. So, ditch the guilt and embrace the power of Bokashi! Your garden will thank you for it.
Last update on 2024-07-26 / Affiliate links / Images from Amazon Product Advertising API


