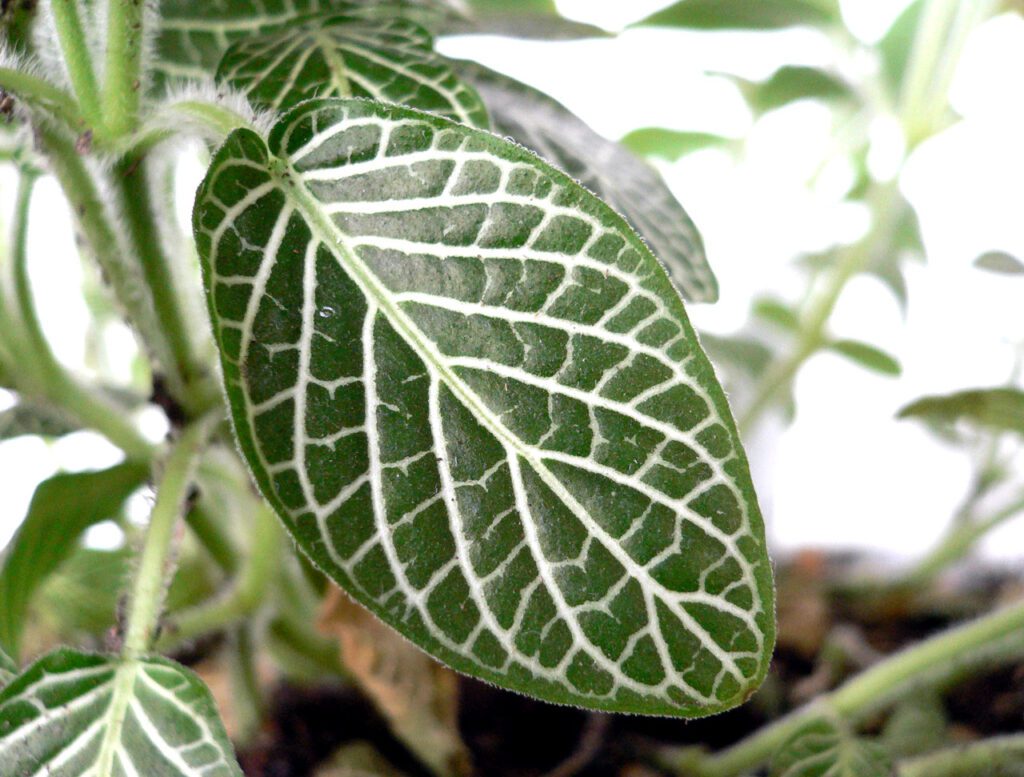
A leggy Fittonia is a common issue, but it’s easily remedied! Here’s how to encourage bushier growth:
1. Pinch Back the Stems:
- This is the most effective method.
- Pinch off the top few inches of each long stem, just above a leaf node.
- This stimulates the plant to grow new shoots from the nodes, creating a fuller, bushier appearance.
2. Increase Humidity:
- Fittonias thrive in humid environments.
- Mist the plant regularly, use a humidifier, or place it on a pebble tray with water.
- Higher humidity promotes healthier growth and prevents legginess.
3. Provide Bright, Indirect Light:
- While Fittonias prefer bright light, avoid direct sunlight, as it can scorch the leaves.
- Optimal light conditions contribute to overall plant health and bushier growth.
4. Maintain Consistent Moisture:
- Keep the soil consistently moist, but avoid overwatering.
- Allow the top inch of soil to dry before watering again.
- Proper watering helps prevent leggy growth and supports healthy development.
5. Fertilize Regularly:
- Feed your Fittonia with a balanced liquid fertilizer every 2-4 weeks during the growing season.
- Avoid over-fertilizing, as it can lead to salt buildup and damage the plant.
Remember: It takes time for the plant to adjust to these changes and produce new growth. Be patient and consistent in your care; you’ll soon have a lush, bushy Fittonia.
Propagating Your Fittonia
Great choice! Propagating your Fittonia is a wonderful way to expand your plant collection and make the most of those cuttings.
Method 1: Propagation in Water
- Prepare the cutting: Choose a healthy stem with at least two nodes. Cut it just below a node.
- Remove lower leaves: Strip off the lower leaves to prevent rotting.
- Place in water: Put the cutting in a clean glass jar or vase filled with filtered or distilled water. Make sure the nodes are submerged.
- Provide light: Place the jar in bright, indirect light.
- Change water: Change the water every few days to prevent bacterial growth.
- Wait for roots: Roots will typically develop within a few weeks.
- Pot the cutting: Once roots are about an inch long, transplant the cutting into a pot with well-draining potting mix.
Method 2: Propagation in Soil
- Prepare the cutting: Same as above.
- Dip in rooting hormone: Optionally, dip the cut end in rooting hormone to encourage root growth.
- Plant in soil: Plant the cutting in a small pot filled with a well-draining potting mix.
- Provide humidity: Cover the pot with a plastic bag to create a humid environment.
- Maintain moisture: Keep the soil consistently moist, but not soggy.
- Remove cover: After a few weeks, when new growth appears, gradually remove the plastic bag.
Tips for Success:
- Use a sharp, clean tool to make the cuts.
- Ensure the water or soil is at room temperature.
- Place the propagated cuttings in a warm, humid location.
- Be patient! Propagation can take time.


