


Summer is the perfect time to enjoy your backyard and spend time outdoors. Why not consider making your stock tank pool when it comes to beating the heat?
Stock tank pools are becoming increasingly popular due to their low cost and easy DIY installation. Plus, they’re the perfect size for small backyards or patios.
In this blog post, we’ll show you how to create your very own stock tank pool. Here’s everything you need to know!
What is a Stock Tank Pool?
A stock tank pool is exactly what it sounds like—a pool made from a large metal stock tank. Stock tanks are typically used on farms as watering troughs for livestock, but they can also make great pools!
They’re usually made from galvanized steel, which makes them durable and long-lasting. And since they’re already waterproof, liner installation is not needed.
Benefits of a Stock Tank Pool
One of the best things about stock tank pools is that they’re relatively inexpensive. A good-quality tank will cost you around $300, compared to thousands for an inground pool.
They’re also much easier to install—in most cases, you only need a level surface and a few hours of your time. Plus, since they’re smaller, they don’t require as many chemicals or maintenance as a larger pool.
How to Install a Stock Tank Pool
Now that you know all about stock tank pools, you’re probably wondering how to install one in your backyard. Luckily, it’s not as difficult as you might think! Here’s what you’ll need to do:
1. Choose the perfect location for your pool. You’ll want to find a level spot with good drainage. Avoid areas with tree roots or sharp objects that could puncture the bottom of the pool.
2. Once you’ve found the perfect spot, it’s time to start excavating! You’ll need to dig out an area slightly larger than your stock tank’s dimensions. This will give you some wiggle room when it comes time to fill the pool with water.
3. Now, it’s time to place your stock tank in the hole you dug out. Make sure it’s level before proceeding to the next step.
4. It’s time to start filling up your new pool! Connect a hose to a spigot and let the water flow until the stock tank is full. Once it is, remove any excess water from the pool’s perimeter, so it doesn’t seep into the ground and cause instability.
5. Now, all that’s left to do is enjoy your new pool! Add some chairs or floats and invite your friends for a summer party.”
Stock Tank Pool Ideas
Now that you know what a stock tank pool is and how to set one up, it’s time to start planning your backyard oasis! The following are some ideas to help you get started:
- Consider setting up multiple stock tank pools if you have a large backyard. You could even create a “pool complex” with different swimming, lounging, and relaxing areas.
- If you have room for only one pool, consider adding some decking or paving around it, so you have a place to relax in the sun.
- Surround your pool with gravel or stone instead of concrete or decking for a more natural look.
- Add some greenery by planting flowers or shrubs around your pool area. This will create your private oasis right in your backyard!
- Don’t forget the accessories! Add some lounge chairs, umbrellas, and towels to relax by the pool. And don’t forget the sunscreen!
Conclusion:
Are you ready to beat the heat in style? Creating your stock tank pool is a great way to do just that!
These unique pools are easy to install and affordable, making them a great addition to any backyard or patio.
So what are you waiting for? Get started on your very own DIY stock tank pool today!
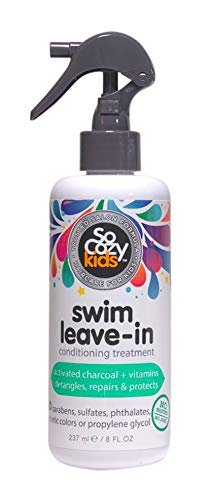
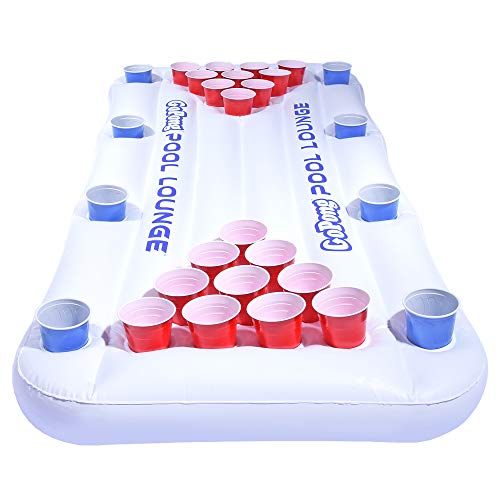
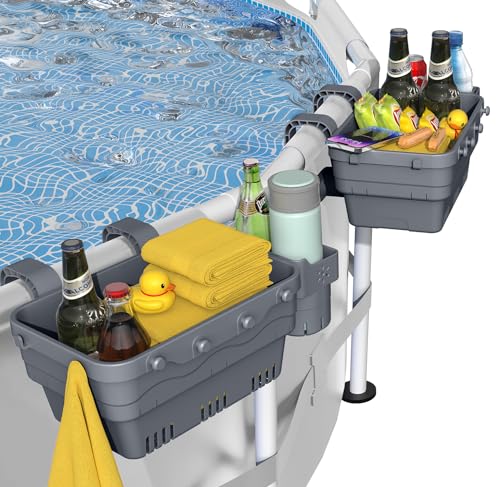
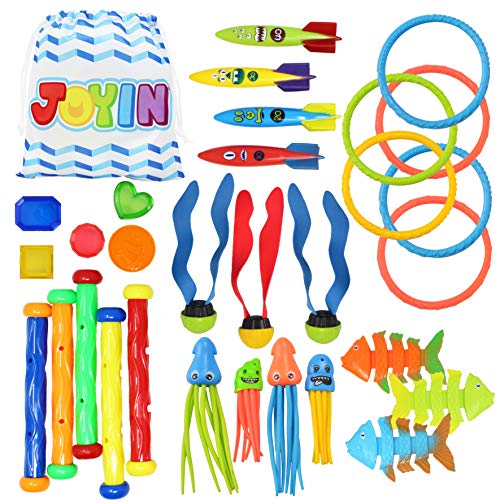
Below You can find Pool Essentials.


Last update on 2024-07-26 / Affiliate links / Images from Amazon Product Advertising API


