How To Repot An Orchid
This guide will help you repot your Phalaenopsis orchid, the most common type of houseplant orchid. Repotting benefits your orchid by providing a fresh potting mix, better drainage, and more space for healthy root growth.
Orchids typically need repotting every 1-2 years to ensure proper drainage and healthy root growth. Repotting also provides a fresh potting mix, which offers essential nutrients and prevents the roots from becoming compacted.
Signs Your Phalaenopsis Orchid Needs Repotting
- Roots outgrowing the pot and circling around the inside
- Decomposing potting mix
- Visible roots through the pot
When to Repot
The best time to repot is after your orchid finishes flowering and before new growth appears.
What You’ll Need
- Sharp, sterilized pruning shears
- New orchid pot (slightly larger than the old one, if needed)
- Orchid potting mix
Step-by-Step

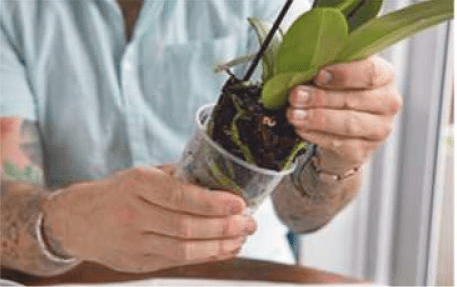
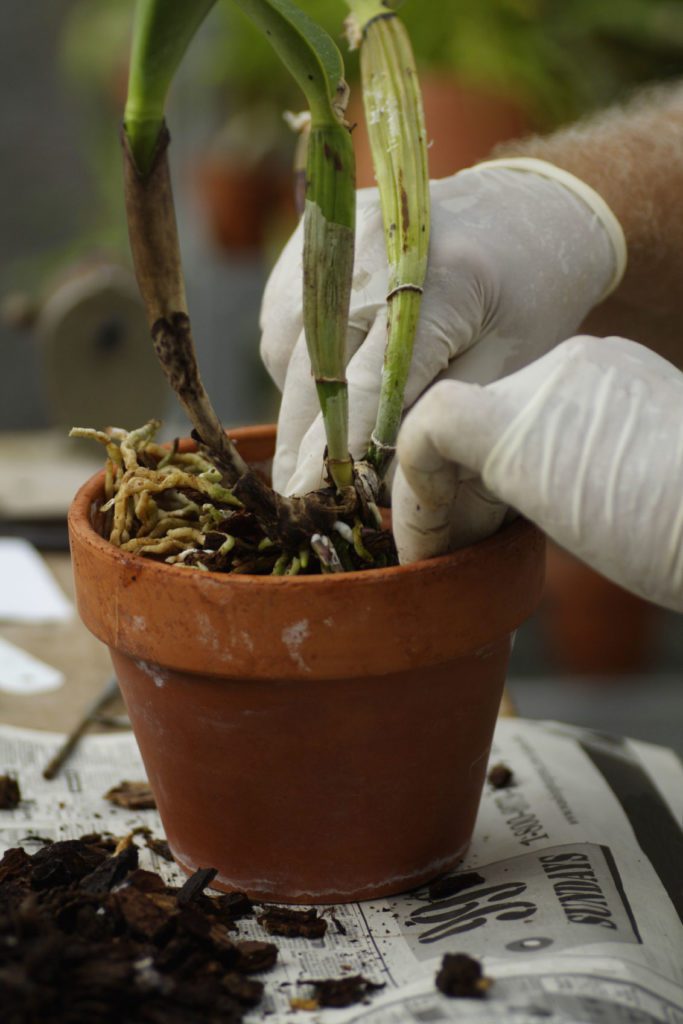
1 Remove your orchid from its pot, untangle the roots and remove all the compost. Shorten roots to 15cm and cut off dead or diseased pieces. Leave aerial roots (growing outside the pot) intact.

2 If the roots fit back into the old pot, then reuse that, as sizing up can leave seeds sitting
in wet compost for too long. If the roots don’t fit, use a new pot that is just slightly larger.

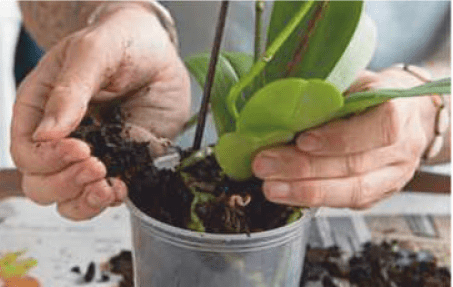
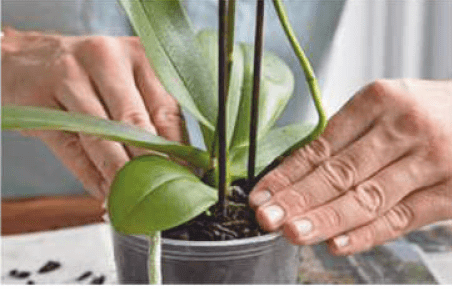
3 Pack orchid compost around your plant’s roots, ensuring you fill every crevice. Don’t
bury the aerial roots below soil level. Add a new cane if needed, water well, and allow to drain.
After Repotting
- Place your orchid in bright, indirect sunlight.
- Avoid overwatering during the first few weeks as the roots establish themselves.
If You follow these steps, you can ensure your Phalaenopsis orchid thrives in its new home!


Comments are closed.