Are you looking to make a bold statement in your home without breaking the bank? A DIY accent wall is a perfect solution! With creativity and effort, you can transform a bland wall into a stunning focal point in just one day.
We’ll guide you through the process step-by-step, providing tips and tricks. Plus, we’ll answer some frequently asked questions to help ensure your project is a success. Let’s get started!
Selecting the Perfect Wall
Choosing the right wall for your accent is crucial for achieving a harmonious and balanced look. Consider the following when selecting your wall:
- Focal point: Choose a wall that naturally draws attention, such as the one behind a headboard, fireplace, or large piece of furniture.
- Architecture: Architectural features, like built-in shelves or unique molding, can enhance the visual appeal of your accent wall.
- Size: Opt for a wall that is not too large, as it may overpower the room, or too small, as it might go unnoticed.
Choosing the Right Color
Selecting a color that complements your existing décor is essential for creating a cohesive look. Keep these tips in mind:
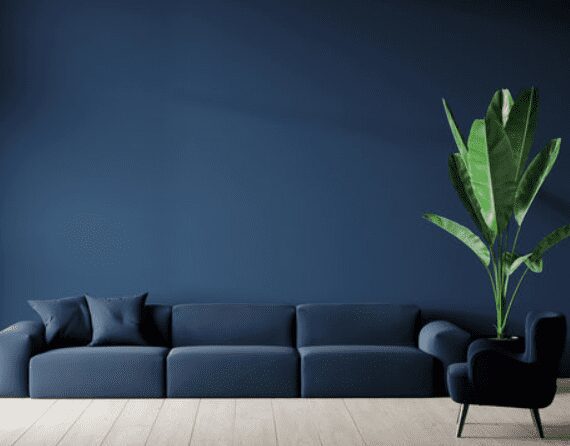
- Contrast: Choose a color contrasting with the surrounding walls, making your accent wall stand out.
- Color theory: Utilize color theory to select complementary, analogous, or triadic colors that work well together.
- Mood: Consider the perspective you want to convey in your space. Warm colors, like reds and yellows, evoke energy and excitement, while cool colors, like blues and greens, create a calming atmosphere.
Determining the Best Pattern
A visually striking pattern can add depth and interest. Consider these popular options:
- Stripes: Vertical or horizontal lines can elongate or widen a room and are easily achieved with painter’s tape and a level.
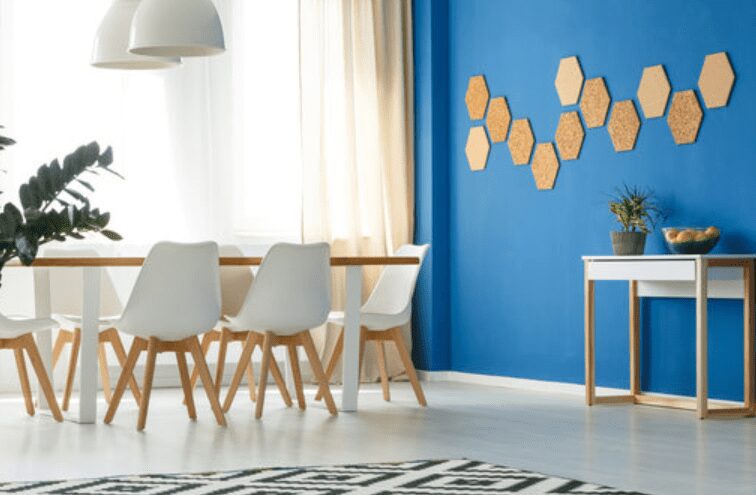
- Geometric: Create bold, eye-catching designs with geometric shapes like triangles, squares, or hexagons.
- Stencil: Use a stencil to add intricate designs, such as florals, damask, or chevron patterns, to your wall.
Prepping the Wall
Preparing the wall is essential for a smooth, professional-looking finish. Follow these steps:
- Clean: Wipe the wall with a damp cloth to remove dust and debris.
- Repair: Fill any holes or cracks with spackling compound and sand the surface until smooth.
- Prime: Apply a coat of primer to ensure even color coverage and improved paint adhesion.
Painting Your DIY Accent Wall
Now that your wall is prepped, it’s time to bring your vision to life. Use these painting tips for the best results:
- Outline: Use painter’s tape to outline your design, ensuring crisp lines and clean edges.
- Cut in: With a small brush, “cut in” the edges and corners of your wall to avoid paint roller marks.
- Roll: Apply the paint using a roller, working in small sections and overlapping each stroke for even coverage.
- Second coat: Allow the first coat to dry completely before applying a second coat for maximum saturation and durability.
To create a flawless wall, start by prepping the surface. Remove any nails, dust, or cobwebs, and fill in any holes or cracks with the spackle. Allow it to dry and sand the surface smoothly. Next, gather your materials, which may include the following:
- Paint and primer
- Painter’s tape
- Paint rollers and brushes
- Drop cloths or plastic sheeting
- A level, ruler, or measuring tape
- Wallpaper or wall decals (if using)
Implement Your Design
With your wall prepped and materials on hand, it’s time to bring your vision to life. Here are some popular ideas to consider:
Painted Accent Wall

A classic choice, painting your accent wall is quick, easy, and budget-friendly. Start by applying painter’s tape to protect the adjacent walls and trim, then prime the wall if necessary.
Next, use at least two coats of your chosen paint color, allowing it to dry between coats. Remove the tape once the paint has dried, and enjoy your stunning new wall.
Wallpaper or Decal Accent Wall

For a more elaborate design, consider using wallpaper or wall decals. They come in various patterns, textures, and colors, making finding the perfect match for your space easy. Follow the manufacturer’s instructions for installation, taking care to measure, cut, and align the paper or decals properly for a professional finish.
Stenciled or Hand-Painted Designs

Try stenciling or hand-painting a design on your wall for a truly unique and personalized touch. This option requires more artistic skill and patience but can result in a masterpiece.
Choose a stencil or create your design, then use a level or measuring tape to ensure proper placement. Apply the paint with a brush or roller, working carefully to avoid streaks or drips.
Adding Finishing Touches
Complete your stunning DIY accent wall with these finishing touches:
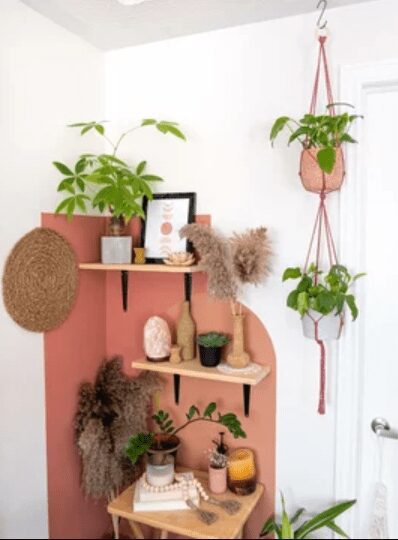
- Accessorize: Add artwork, mirrors, or decorative shelves to enhance the visual appeal of your accent wall.
- Lighting: Install accent lightings, such as wall sconces or LED strips, to highlight your wall’s features and create a warm ambiance.
- Furniture: Arrange your furniture to draw attention to your wall and create a balanced, cohesive look.
With careful planning, color selection, and proper painting techniques, your DIY accent wall will transform your space and stand out.
Maintaining Your DIY Accent Wall
Regular maintenance is essential to keep your DIY accent wall fresh and vibrant. Follow these tips to ensure your wall remains a stunning focal point:
- Dust: Use a microfiber cloth or duster to gently remove dust and debris from your wall’s surface, paying particular attention to corners and edges.
- Spot clean: For minor marks or stains, use a damp cloth and mild detergent to clean the affected area gently. Be sure to test the cleaning solution on an inconspicuous area first to avoid damaging the paint.
- Touch-ups: If you notice any chips or peeling paint, touch up the area with a small brush and matching paint to keep your wall looking its best.
- Protect: Keep your wall looking pristine by taking steps to protect it from damage. For example, use furniture pads to prevent scuff marks from chairs or install a protective barrier near high-traffic areas.
Following these maintenance tips ensures that your DIY accent wall remains a beautiful and eye-catching feature in your home for years.
FAQs
How do I choose the right color for my accent wall?
Consider the color scheme of your room and select a color that complements the existing décor. You can also use a color wheel to help find a complementary or contrasting hue.
Can I create an accent wall in a small room?
Absolutely! An accent wall can make a small room feel more extensive and more dynamic. Be mindful of your chosen color or pattern, as darker colors can make a space feel smaller.
Can I use more than one accent wall in a room?
While you can, limiting yourself to one accent wall is best to avoid overwhelming the space. Having multiple accent walls can dilute the impact and create visual clutter.
Conclusion
In conclusion, our comprehensive guide to creating a stunning DIY accent wall has provided you with a wealth of knowledge and inspiration to transform any space in your home. From wood accent walls and painted accent walls to textured walls and wood slat walls, you can make a big impact on a blank wall, elevating your dining room, bedroom, or any other area in need of a refresh.
With our best accent wall ideas, you can create an amazing accent wall or feature wall that showcases your personal style. Tackle common challenges like nail holes, light switches, and boring walls by using the right tools and techniques for a smooth finish.
Our suggestions for wood pieces, lighter shades, vertical boards, wood slats, and chevron patterns can help you create a modern accent wall that you’ll absolutely love.
Whether it’s a DIY project for a bedroom makeover or a bold color feature wall idea for a nursery, our guide has you covered. Embrace the fun way of crafting easy projects with wood, boards, and decor that elevate your home’s style.
The final result will not only improve the appearance of your house, but it will also be a testament to your skills and creativity.
So, gather your tools, measure twice, cut once, and bring your accent wall design to life. You can create the perfect addition to your home decor with the right angle, layout, and materials.
We hope this guide serves as your inspiration to create an impressive, gorgeous accent wall that will leave a lasting impression on your family and guests. Happy DIY-ing!


