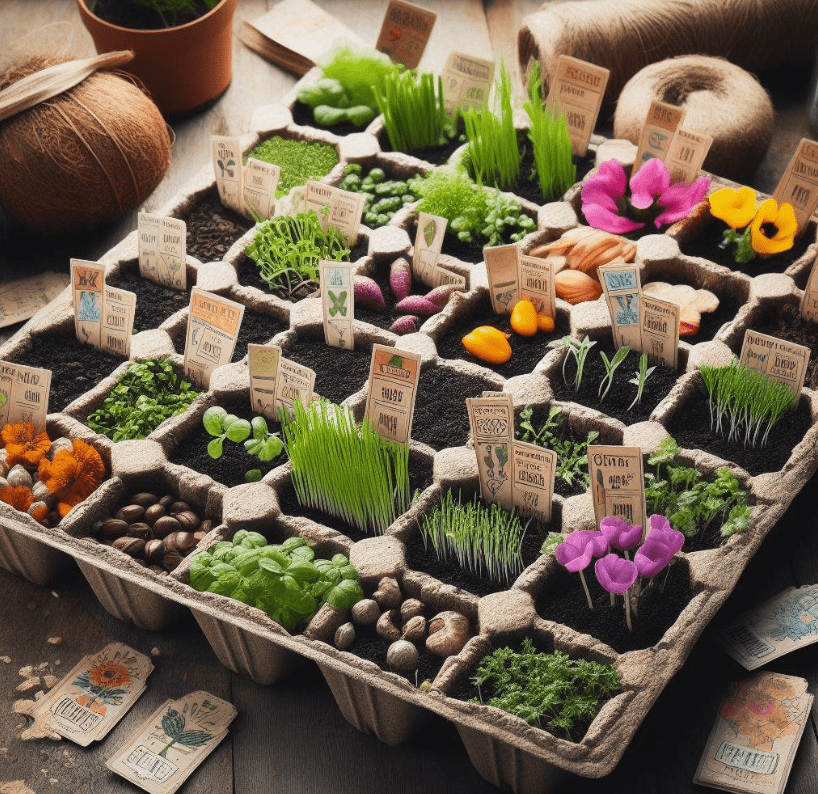
Imagine the thrill of watching a tiny seed transform into a vibrant plant! The perfect seed starting trays are essential for this magical process. Let’s dive into the best commercial options, discover creative DIY ideas, and learn expert tips for ensuring your seedlings thrive. Picture a garden overflowing with life – it all begins with those first tender sprouts!
Why Seed Starting Trays Matter
Seed starting trays provide several critical advantages for your tiny plants:
- Controlled Environment: Trays create a dedicated space optimized for germination and early growth.
- Root Development: Individual cells or pots promote healthy root systems without overcrowding.
- Ease of Transplanting: Trays make moving seedlings to larger pots or your garden simple with minimal disturbance.
Commercial Seed Starting Tray Options
Let’s explore some of the most popular choices available:
1. Plastic Seed Trays
- Pros: Affordable, durable, reusable, and available in various cell sizes, including popular 72-cell and 1020-cell options for starting many seeds in a compact space
- Cons: Not biodegradable, so you’ll need to remove plants before planting them in the ground.
- Tips: Look for BPA-free plastic and sanitize trays between uses.
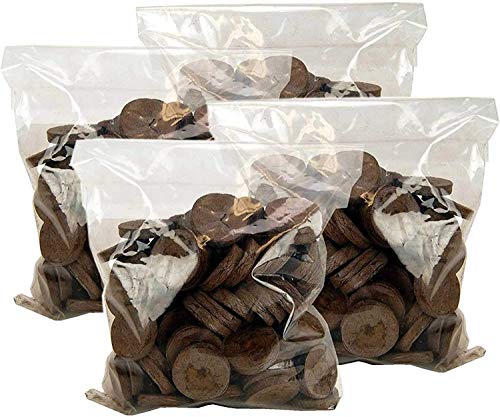
2. Peat Pots
- Pros: Biodegradable and can be planted directly in the ground, minimizing transplant shock.
- Cons: It can dry out quickly and may be slightly more expensive than plastic trays.
- Tips: Ideal for seeds sensitive to root disturbance (e.g., cucumber, beans).
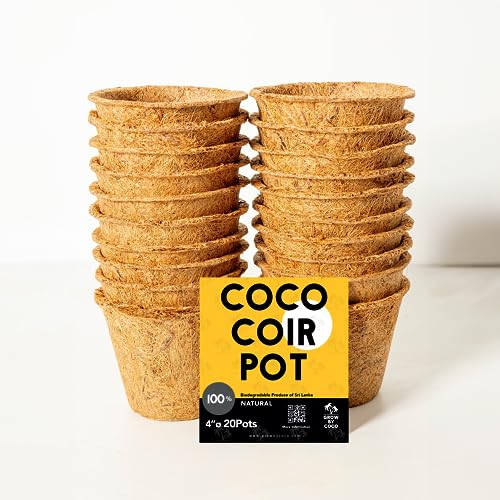
3. Coir Pots
- Pros: Sustainable (made from coconut husks), promotes excellent root development, and plantable directly into the soil.
- Cons: Slightly more expensive, but the eco-benefits may outweigh the cost for some gardeners.
- Tips: Similar applications to peat pots!
4. Paper Pots
- Pros: Cost-effective, biodegradable, and a fun DIY project.
- Cons Can break down if overly wet, better for short-term seed starting.
- Tips: Perfect for fast-germinating seeds, can utilize a newspaper or recycled paper.
5. Soil Blocks
- Pros: Plastic-free, promote air pruning for strong roots, and maximize space.
- Cons: A soil blocker tool and a bit of practice are required to get the technique right.
- Tips: Excellent choice for gardeners focused on sustainability.
6. Flexible and Reusable: Silicone Seed Starting Trays
These innovative trays are made from food-grade silicone, offering durability, easy cleaning, and flexibility, making removing seedlings a breeze. They are often dishwasher safe and ideal for gardeners seeking a long-lasting, eco-conscious option.
Get Crafty: DIY Seed Starting Tray Ideas
Unleash your creativity and reduce waste with these fantastic DIY options:
1. Egg Cartons
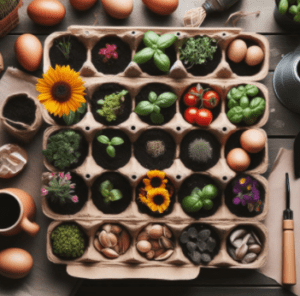
- Pros: Free, readily available, biodegradable cells.
- Cons: Best for small seeds; larger seeds may need more space.
- Tips: Poke drainage holes and use cardboard cartons for the best results.
2. Toilet Paper Rolls
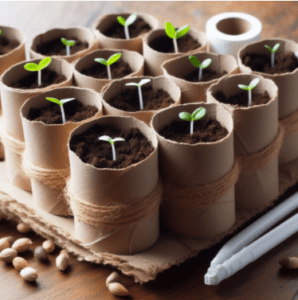
- Pros: Budget-friendly, biodegradable, customizable size.
- Cons: The bottom can fall out if it is too wet; place it on a tray for support.
- Tips: Cut rolls in half or thirds for ideal seed starting depth.
3. Yogurt Cups
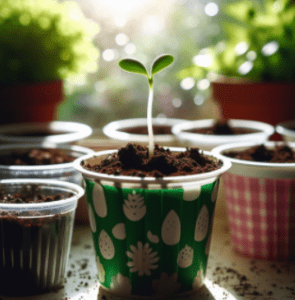
- Pros: Upcycle household containers, sturdy, perfect for larger seeds.
- Cons: Not biodegradable; requires drainage holes.
- Tips: Clean thoroughly and label the varieties you plant.
4. Newspaper Pots
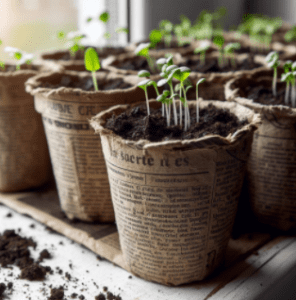
- Pros: Extremely eco-friendly, customizable size.
- Cons: Takes a little practice to fold correctly.
- Tips: Check out online tutorials for easy-to-follow instructions.
5. Ice Cream Cone Pots
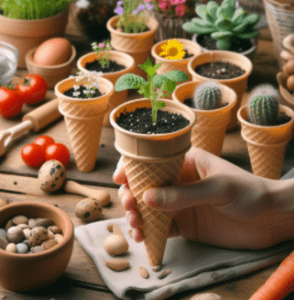
- Pros: Unique, biodegradable, fun for kids to help with!
- Cons: Best as a novelty; cone shape may not be ideal for all seedlings.
- Tips: Choose plain, sugar-cone varieties for best results.
Seed Starting Success: Caring for Your Seedlings
- Light: Seedlings crave light! Place trays near a sunny window or invest in grow lights.
- Watering: Keep the soil evenly moist but not soggy; bottom watering can be helpful.
- Airflow: Gentle air circulation (a small fan) strengthens stems and prevents disease.
Beyond Sunlight: Grow Lights
If natural light is insufficient, invest in grow lights designed for seedlings. Standard fluorescent shop lights won’t provide the necessary light spectrum for healthy growth.
Humidity Boost: Germination Domes
For seeds that love warmth and moisture, consider trays with clear plastic domes to create a mini-greenhouse effect. Ensure the kit includes bottom trays to catch excess water.
Transplanting and Hardening Off
It’s time for a move when your seedlings outgrow their cozy seed trays!
Transplanting Tips
- Timing: Wait until seedlings have their first set of true leaves (these look different from the first tiny leaves that emerge).
- Handling: Gently grasp seedlings by a leaf to avoid damaging the stem.
- Bigger Space: Choose individual pots or a larger tray with more room per plant.
- Depth: Most seedlings should be planted a bit deeper than in their seed tray, usually up to their first set of leaves.
Hardening Off: The Key to Transition
- Why it Matters: Hardening off gradually acclimates indoor-grown seedlings to outdoor conditions (sun, wind, temperature changes).
- The Process: About a week before your planned transplant date, start with an hour or two of protected outdoor time, gradually increasing daily exposure.
- Signs of Success: Hardened-off plants will be slightly stockier and may have a darker green or purplish hue.
Beyond the Basics: Additional Seed Starting Tips
- Quality Seeds: Start with fresh, reputable seeds for the best germination rates.
- Soil Matters: Use a sterile seed starting mix for optimal drainage and disease prevention.
- Warmth: Many seeds germinate best with a little extra warmth; consider a heat mat.
- Labels: Label everything! Avoid confusing your seedlings as they grow.
- Thinning: Snip out weaker seedlings to give the strongest contenders more room.
Frequently Asked Questions About Seed Starting Trays
What size seed starting tray do I need?
Consider the type of seeds you’re planting. Small seeds can thrive in trays with many small cells, while larger seeds need deeper cells and more space.
Can I reuse seed starting trays?
Absolutely! Thoroughly clean plastic trays between uses to prevent disease spread. Biodegradable trays are often intended for single use.
Do seed trays need drainage holes?
Yes! Excess water needs to escape to prevent problems like root rot. Commercial trays usually have drainage; you must poke holes in most DIY options.
What if I don’t have a sunny window?
Invest in grow lights! Standard fluorescent bulbs don’t provide the right light spectrum for seedling solid growth.
Conclusion
Choosing the right seed starting trays lays the groundwork for your gardening season. Whether you prefer the convenience of commercial trays or the sustainable satisfaction of DIY, understanding the options and providing proper care paves the way to healthy, vibrant plants.
Ready to start your seeds? Share your seed starting tray choices in the comments!
Last update on 2024-07-26 / Affiliate links / Images from Amazon Product Advertising API






![[Thick Plastic] 3-Set Strong Seed Starter Trays with 5' Humidity Domes for Seed Starting, Germination, Seedling Propagation & Plant Growing, Holds 144 Cells in Total](https://m.media-amazon.com/images/I/41nIH-qE5tL.jpg)


