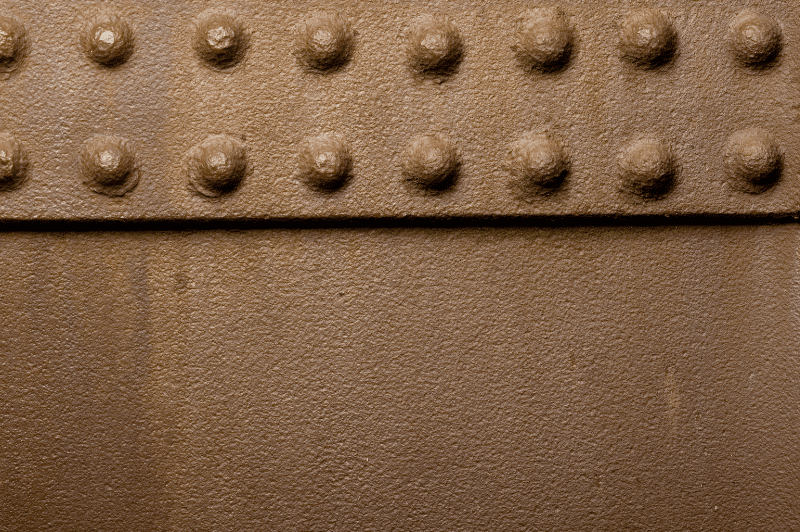
Are there any alternatives to removing rivets without damaging the material?
Yes, there are alternatives to removing rivets without damaging the material. One option is to use a drill with a tiny bit to carefully drill out the center of the rivet, then use pliers or a screwdriver to pry it out. Another option is to use a rivet removal tool designed explicitly for this purpose.
Rivets have been a steadfast method of fastening materials together for ages. From construction projects to aircraft assemblies, rivets play a crucial role. However, there are instances when we need to remove them, whether for repairs, replacements, or modifications. Here, we will write about the steps and tools required to remove rivets safely.
Rivets Removal
Rivets, those little metal pins or pegs designed to hold materials together, are more essential than most realize. From the jeans you wear to the plane you fly in, rivets are there, keeping things together. But like everything else, they need removal sometimes, either due to wear and tear or design modifications. Understanding how to remove these small but mighty fasteners safely is crucial.
Step-by-step Instructions:
- Safety First:Before embarking on your rivet removal journey, ensure your safety:
- Shield your eyes with safety goggles.
- Wear gloves to safeguard your hands.
- If you’re using any chemical solutions, work in a well-ventilated space.
- Identify the Type of Rivet:Knowing the type of rivet you’re dealing with helps determine the best removal method.
- Blind or pop rivets
- Solid rivets
- Tubular, semi-tubular, etc.
- Gather Necessary Tools:Having the right tools at hand ensures a smoother removal process:
- Drill Method (For Blind or Pop Rivets):This is the most common method:
- Select a drill bit that matches the size of the rivet.
- Position the drill bit at the center of the rivet head.
- Apply even pressure while drilling until the rivet head detaches.
- Push the leftover rivet body out of the hole.
- Punch Method (For Solid Rivets):An old-school, yet effective method:
- Position the punch at the center of the rivet.
- With gentle taps using a hammer, drive the punch until the rivet releases.
- Chisel Method (For Larger Rivets):Useful for stubborn, more oversized rivets:
- Angle the chisel against the rivet head.
- Strike the chisel with a hammer until the head is sliced off.
- Employ the punch method to eject the remaining part.
- Clean Up:Once the rivet is out, ensure cleanliness:
- Clean the hole and surrounding area from debris.
- Prep the surface for the following procedure, be it re-riveting or sealing.
- Using a Grinder for Rivet Removal
When faced with stubborn rivets, a grinder can be an invaluable tool. By carefully grinding the top of the rivet, you can effectively reduce the holding power of the rivet. Always wear safety glasses when using a grinder to protect against any flying debris or sparks. Once the rivet’s head is ground down, it’s easier to manage its removal with other tools.
- The Importance of a Mandrel in Riveting
The mandrel is pivotal in the riveting process, especially with pop rivets. It provides the necessary leverage during the installation, ensuring the rivet is set securely. After the rivet is installed, the mandrel is typically snapped off, leaving the rivet securely in place. But spotting a protruding mandrel can give you an advantage point to start if you’re looking to remove a rivet.
- Center Punch and Power Drill: The Dynamic Duo
Before diving into the rivet removal process, creating a starting point is essential. This is where a center punch comes into play. You create a small divot by placing the center punch in the middle of the rivet and applying pressure. This divot then serves as a guide for your power drill. Drilling a pilot hole using the divot as a guide ensures the drill does not slip, granting a clean start to the rivet removal process.
- Ensuring a Clean Rivet Hole Post-Removal
After successfully removing a rivet, attention should be turned to the rivet hole. It’s crucial to ensure the hole is free from any leftover material or rough edges. This ensures safety and prepares the surface for any subsequent riveting or patching activities. If there are any inconsistencies in the hole, it can impact the effectiveness of future rivets or repairs.
Tips and Tricks
- Start with a more minor drill bit; you can always go bigger if needed.
- For a smoother drill, lubricate the bit with a few drops of oil.
- Difficult rivets? Warm them up with a propane torch (but always be wary of the materials around).
- For hollow-end rivets, a nail with a slightly smaller diameter might help in pushing them out.
Looking for top-notch tools to make your rivet removal a breeze?
Check out our recommended Tresalto Auto Trim Removal Tool Kit
Why let old rivets deter your project? With the Tresalto Auto Trim Removal Tool Kit, rivet removal is as easy as 1-2-3!
Conclusion
Though it may seem daunting initially, Rivet removal is a straightforward process when you have the right tools and know-how. Whether you’re a professional or a DIY enthusiast, mastering this skill can be helpful in numerous scenarios.
Your rivet removal journey has now been demystified. Equip yourself with the necessary tools and confidently take on your next project!
Last update on 2024-07-26 / Affiliate links / Images from Amazon Product Advertising API


