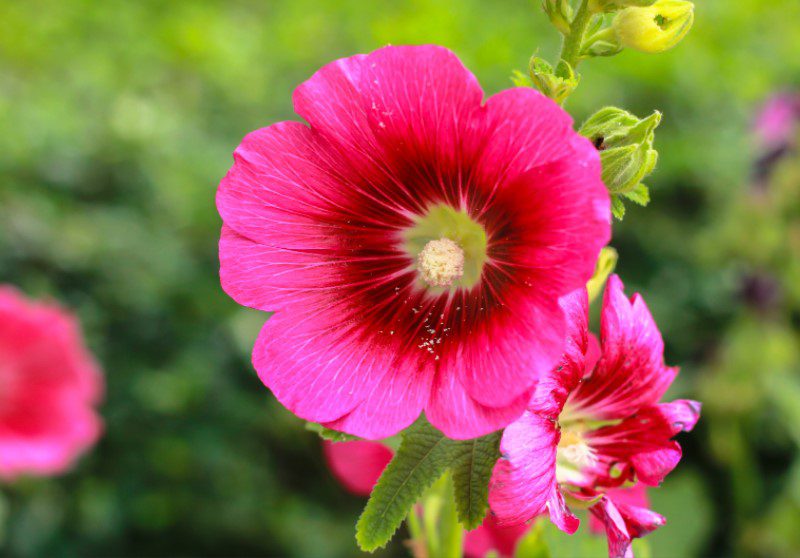
Hollyhocks
9 Growing Tips For Hollyhocks
1. There are many different ways to sow flower seeds – whether perennials, annuals, or biennials. I’m planting hollyhocks, but now’s also a good time to plant delphiniums, Linaria ‘Canon Went’, and echinaceas, which are all easy perennials to grow from seed
2. Hollyhocks have large seeds easily sewn into a seed tray filled with sieved peat-free compost. Water the compost first to make sure it’s consistently moist. If you water after sowing, you can wash the seeds to the side of the tray and bunch them together – not what you want.
3. Sow the large seeds individually, spacing them about an inch apart so they can germinate and grow on a little before you need to prick them out. This is more successful than just chucking the seeds in willy-nilly and saves time too. Cover.
4. Put them somewhere warm and cozy so that they are quick to germinate. You don’t need light – for most seeds – at this stage. A small propagator is good, or even a warm windowsill.
I often cover my seedlings with empty compost bags – opened out – to keep the warmth and moisture in. This makes germination quicker, but if you do this, after about a week, you need to check your trays every morning and night to check they have not started to emerge – and in which case, they need the light-excluding plastic removing.
5. The hollyhocks will take 10-14 days to germinate and then another 4-6 weeks before they’re ready for pricking out – moving into their pots. Check by having a look at the base of the tray.
If white roots are showing, they’re ready to move on. When they germinate, the first thing you’ll see is a pair of seed leaves, which are large, round, and bright green in the case of hollyhocks.
6. First, fill the correct number of pots with potting compost. We use peat-free. To prick them out, you want to handle only the seed leaves, not the stem (which bruises very quickly). So get a pencil or label right under the plant and try and tease out – roots and all – each seedling.
7. Ease each plant into its pot, firm it down, and water.
8. Place them back into their ideal spot for growing – in maximum all-around light, ideally with warm roots but cold tops to give you short, stocky rugby players rather than whippy, skinny athletes. This will mean good, vigorous plants.
9. These will be ready to plant in the garden by June but won’t flower well until next year. You might get the odd one trying to bloom more quickly, but cut this flower spike down to enable the roots to get well established before the demands of flowering, or you’ll get trouble with the persistent problem with hollyhocks which is rust.
Important Info On Hollyhocks
Hollyhocks make it easy for you to cultivate. However, they aren’t without issues. When growing flowers for hollyhocks, it is essential to be on the lookout for signs of rust.
Rust usually attacks lower leaves, but it can be spread to the upper leaves. To help keep rust at an absolute minimum, some suggestions for hollyhocks are:
Remember to water the plant from below.
Treatment with a fungicide.
Ensure the plant has an adequate circulation of air. All of these strategies should help, but they are unlikely to remove the rust issue.
It is best to limit rust on the branches below, only affecting the leaves; it won’t affect the flowering plants.
Once you have learned the best way to grow hollyhocks and how to grow them, you can plant these gorgeous blooms in the garden.
The growing of hollyhocks in your garden will give it interest and excitement. Chemical controls should be used only in the last instance because organic methods are more secure and less harmful to the environment.


